
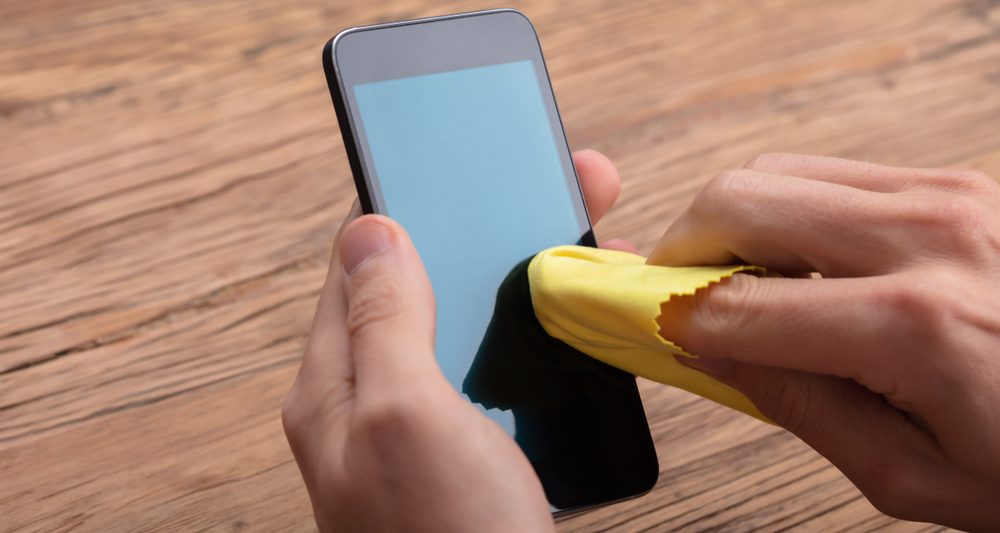
Although safeguarding your beloved iPhone with a durable case or reliable screen protector is a straightforward task, along with Airpods maintaining its cleanliness poses a distinct challenge. If you’ve noticed a decline in the audio quality of your iPhone, it’s time you learn how to clean the iphone speaker. While we’re diligent about wiping our screens (for the most part) and occasionally inspecting our clear phone cases, the speakers often go overlooked. Yet, with daily usage, dust, dirt, and debris accumulate in these small openings, leading to muffled calls and diminished audio performance.
You might attribute these issues to the natural aging of your device, but we have great news for you – you can simply restore it to its former glory. Granted, cleaning the speakers requires finesse, much like attending to the iPhone’s charging port, but it’s entirely achievable with the right approach and attention to detail. In this guide, we’ll walk you through a step-by-step process, addressing any queries along the way. Let’s dive into how to clean iPhone speaker effectively and enhance that audio experience once and for all.
Table of Contents

Methods for Cleaning Iphone Speakers
Expert tips for how to clean iPhone Speaker
Several techniques exist for cleaning your iPhone’s speakers, depending on the materials you have at your disposal. In this guide, we’ll explore each method in detail, however, it is important to note that none of our methods involve the use of water, for obvious reasons:
| Iphone Speaker Cleaning Tools |
| Flashlight, if available |
| Paint Brush |
| Tooth Brush (soft bristled) |
| Painter’s Tape |
| Plastic/Wooder Toothpick |
| Air Blower |
Soft Bristled Brush Method:
Apple suggests utilising a soft-bristled brush to effectively clean the speakers.
Step 1: Take off any cases or screen protectors attached to your iPhone.
Step 2: Illuminate the speaker openings with a flashlight to get a clear view of the debris inside.
Step 3: Ensure the brush you’re using is soft-bristled, clean, and dry to prevent any potential damage. Paint brushes or makeup brushes work well for this purpose.
Step 4: Begin cleaning with the receiving speaker, gently sweeping from side to side while angling the brush to dislodge dust outward rather than pushing it further in.
Step 5: Repeat this process several times, tapping the brush to dislodge any excess dust between strokes.
Step 6: For the lower speaker holes near the charging port, use a soft-bristled brush to remove any remaining dust. Insert the bristles gently, rotate softly, and withdraw to eliminate dust and debris.
Painter’s Tape Method:
We found this method to work effectively if done right, however more than one application may be required.
Step 1: Take off the case and screen protector to gain unrestricted access to the speakers.
Step 2: Illuminate the area with a flashlight to clearly identify any debris.
Step 3: Prepare a small piece of painter’s tape by wrapping it around your finger, ensuring the sticky side faces outward.
Step 4: Position your taped finger over the receiving speaker and gently roll it from side to side to capture dust. Apply moderate pressure, allowing the tape to reach into the speaker without exerting too much force.
Step 5: For the smaller speaker holes located at the bottom of your phone, shape the tape into a finer point to effectively clean them.
Toothpick Method:
Toothpicks may serve as a viable tool for this task; however, their usage warrants caution due to the potential for damaging internal components if employed improperly. Consequently, it is advisable to exercise discretion and attempt this method solely at your own risk. Toothpicks should be reserved for addressing visible obstructions solely in the lower speakers adjacent to the charging port.
Step 1: If required, detach your phone case and ensure you have a flashlight readily available to enhance visibility.
Step 2: With caution, utilise the pointed end of a wooden or plastic toothpick to delicately insert it into the speaker holes. Avoid applying pressure during this process and cease insertion upon encountering resistance.
Step 3: Subsequently, gently incline the toothpick sideways and upward as you withdraw it, allowing it to dislodge any debris. Exercise care to avoid downward tilting, which could result in damage.
Air Blower Method:
While certain sources advocate employing compressed air for cleaning iPhone speakers, it’s important to note that this approach carries a risk of causing damage. A considerably safer alternative involves utilising an air blower, such as the K&F Concept Air Blower for $16.99
Step 1: Position your air blower at a moderate distance from the speakers and administer several brief bursts to dislodge dust and debris. Its gentler force compared to compressed air is advantageous in this scenario.
Step 2: If required, gradually bring the air blower closer to enhance its effectiveness.
Step 3: Employ your flashlight to assess the progress and repeat the process as needed.
What Does Apple Suggest:
Following Apple’s suggestions on their website will lead you to similar steps. This information covers not only cleaning the speaking itself, but also adjusting of settings configurations in order to help with Iphones that are experiencing distorted sound, or no sound at all. Head over to their website by clicking here or go one step further and speak to their Apple support team.

Cleaning Iphone Speakers FAQs
Is there an impact on sound quality after cleaning the speaker?
Numerous iPhone users ponder: “Will cleaning the speaker diminish sound quality?”
Properly conducted cleaning of the speaker does NOT compromise sound quality. In fact, cleaning facilitates air circulation, resulting in clearer sound during audio playback.
However, improper methods, such as excessive scrubbing or utilising sharp objects, can harm the speaker membrane, thereby affecting sound quality. To avert such undesirable outcomes, it is imperative to perform the cleaning procedure correctly, with meticulous care and gentleness.
Addressing Distorted Sound Post-Speaker Cleaning
Should you encounter distorted sound even after cleaning the speaker, it may indicate damage to your phone’s speaker. In such instances, it is advisable to seek professional assistance from reputable repair centres for thorough inspection and resolution. Alternatively, you can contact Apple’s support team by clicking the link above, under the heading ‘What Does Apple Suggest’
Is it safe to use cleaning solutions for speaker maintenance?
Absolutely not. Utilising cleaning solutions can render the speaker susceptible to moisture, which may lead to gradual damage to electronic circuits. If you lack confidence in cleaning the speaker at home, it is advisable to seek assistance from authorised service centres or warranty centres.
Conclusion
Smartphones serve as one of the most frequently utilised pieces of equipment in daily life, yet they are also among the dirtiest due to constant handling. Whether engaging in conversations, playing games, accessing applications, or performing various other tasks, our hands invariably come into contact with the device. Consequently, if you find yourself unable to hear conversations clearly or experience diminished audio quality while listening to music, it may indicate the need to clean your iPhone speaker.
Having familiarised yourself with multiple methods for cleaning an iPhone speaker, you are now equipped to address any concerns pertaining to sound quality and noise interference. By implementing appropriate cleaning techniques, you can optimise the performance of your device’s speaker, ensuring an enhanced audio experience for various activities and applications.
Cleanco Commercial Cleaning
Whether you have no sound on iphone, or you just feel that your iphone speaker is not working properly, start by following our steps outlined above to ensure a clean iphone speaker. Should you continue to have issues, step your way through Apple’s suggestions on their website and make contact if the need arises.